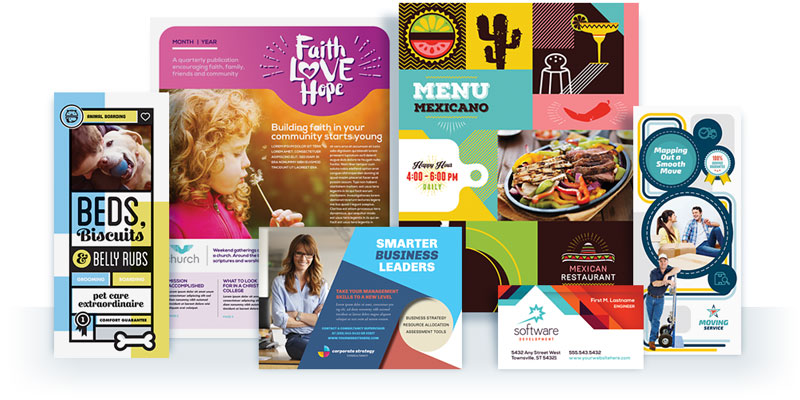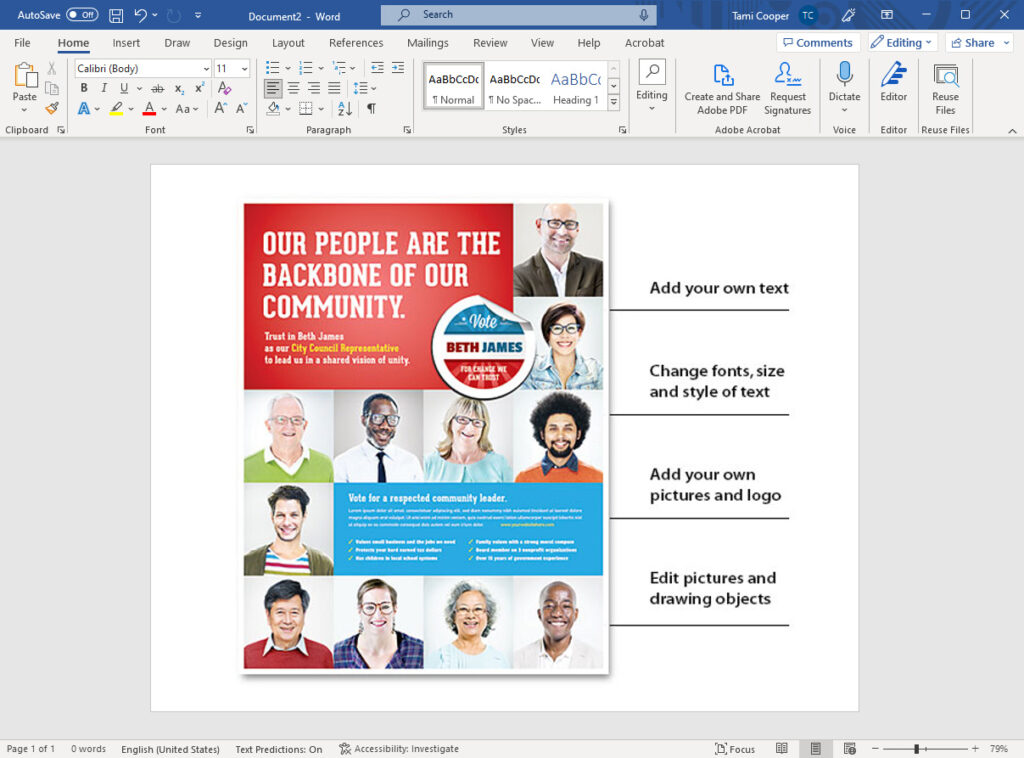
You can create your own marketing materials in minutes using premade design templates in Microsoft Word. For example, it’s quick and easy to make brochures, flyers, posters, and business cards, when most of the design work is already done. All you have to do is tweak the layout and graphics to fit your brand by adding your own logo and text and changing colors and pictures.
Follow these simple steps to quickly create a design project using Microsoft Word. First, we’ll explain ways you can customize a design template to make a unique and branded design piece. Second, we’ll provide you with specific editing tips you’ll need to know to be successful formatting documents in Microsoft Word.
If you already have a design template and are ready to start editing, go ahead and jump to our section titled Instructions for Editing a Template in Microsoft Word.
Customizing a Template To Create a Unique Design
Step 1. Start With a Design Template
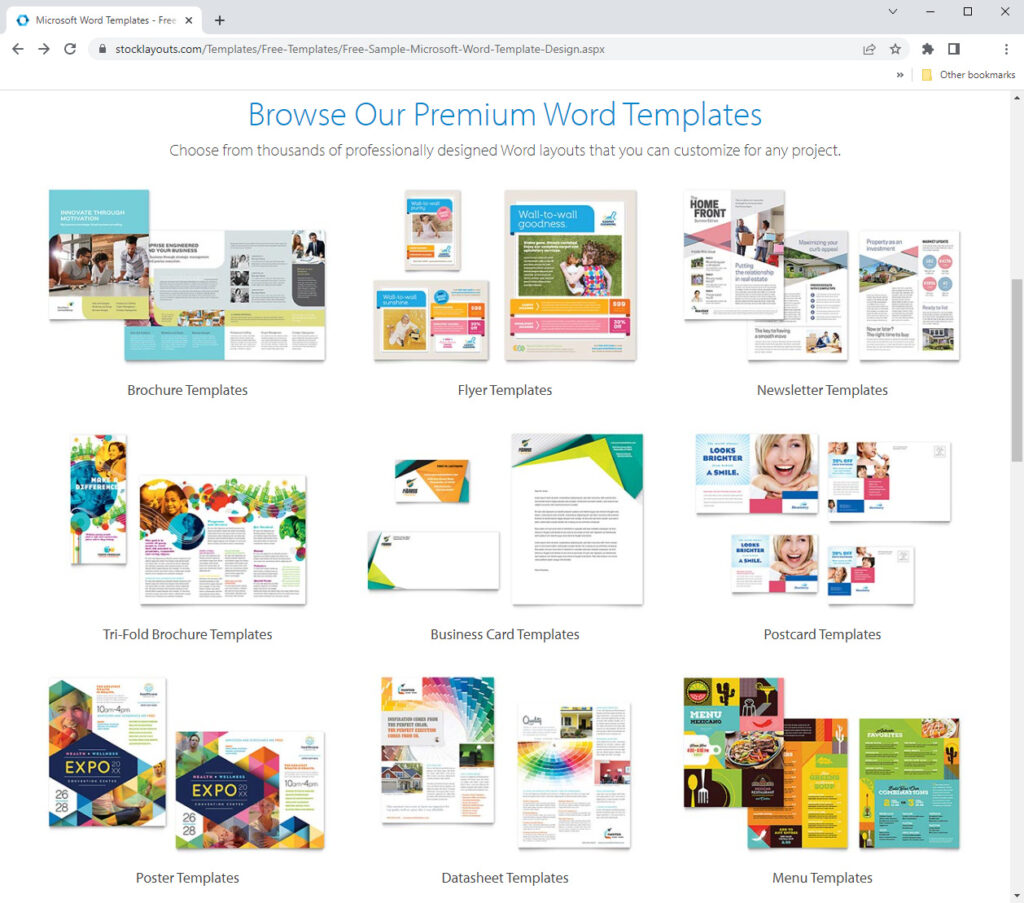
The easiest way to get started is to use a predesigned template. You can find free templates within Microsoft Word and on the Microsoft Office website. In addition, you can find thousands of free and premium Word templates on websites such as StockLayouts.com, Envato.com, CreativeMarket.com, Template.net, and Freepik.com. Browse these collections to find the perfect template to start your project.
Step 2. Add Your Own Images and Logo

Once you have selected a template to work with, you can begin customizing it by changing the pictures and adding your own logo. Some template providers, such as StockLayouts, include high quality stock photos that are free to use or you can replace them with your own. Add your logo to the layout to reinforce your brand identity.
Step 3. Choose Colors That Suit Your Brand
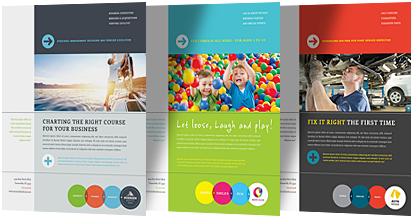
Now, you can change the colors in the layout to your desired color palette to match other marketing materials and your online presence. Make sure your colors complement each other to evoke just the right feeling you want to project for your business.
Step 4. Add Your Own Text and Pick Fonts

The next step will be to insert your own copy into the layout. The template will help guide you where to place the text and where you should insert headlines and a call to action as well as contact information. After you have placed your copy, try selecting different fonts to stylize the text and bring your message to life.
Step 5. Print In-House or Send It Out

When your design is complete, you’re ready to print it or distribute it as a digital file. You can print your project on your own printer or send the file out for professional printing. You can also make a PDF of the file to easily distribute the document online.
Instructions for Editing a Template in Microsoft Word
The following editing tips will help you make the changes to your Word template quickly and easily. In no time, you’ll be designing like a professional.
Contents
To get step-by-step instructions on the topic of your choice, click one of the links below:
- Add your own text, replace placeholder text
- Change fonts, size and style of text
- Add your own pictures and logo
- Edit pictures, shapes and graphics
How To Add Your Own Text
Using text boxes in Word enables you to create text containers that can be easily moved around on the page and formatted just the way you like. You can even layer text boxes on top of one another to achieve artistic results. Follow the instructions below to edit text boxes.
Replacing placeholder text
Click on the text box, select the placeholder text within it and replace it with your own. Resize the text box as needed to accommodate your copy.
Inserting a new text box
- On the Insert tab, in the Text group, click Text Box, and then select click Draw Text Box
- Drag to draw the text box the size that you want.
- To add text, click inside the box and type or your paste text.
Changing the wrapping style of a text box
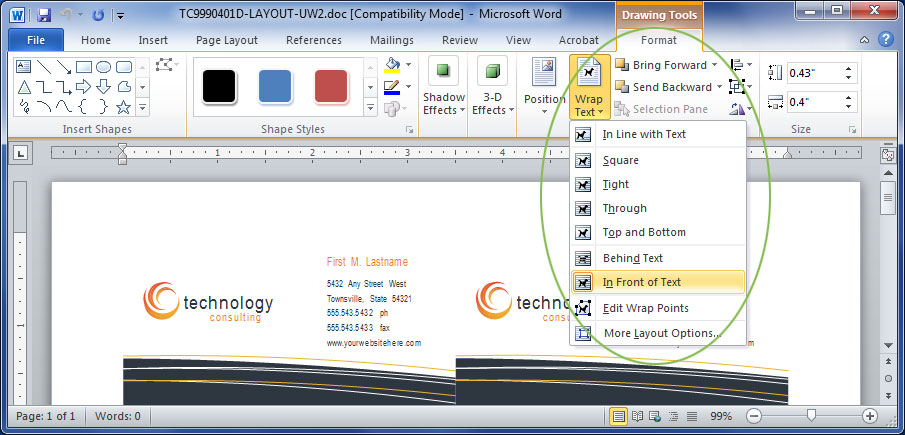
Change the wrapping style of a text box to freely place it on the page and to layer it in front of or behind others.
- Select the text box you want to change.
- On the Format tab, in the Arrange group, click Wrap Text, and then select In Front of Text.
- Move the text box where you want. To move a text box, click on the edge of the box and drag.
Moving a text box forward or backward
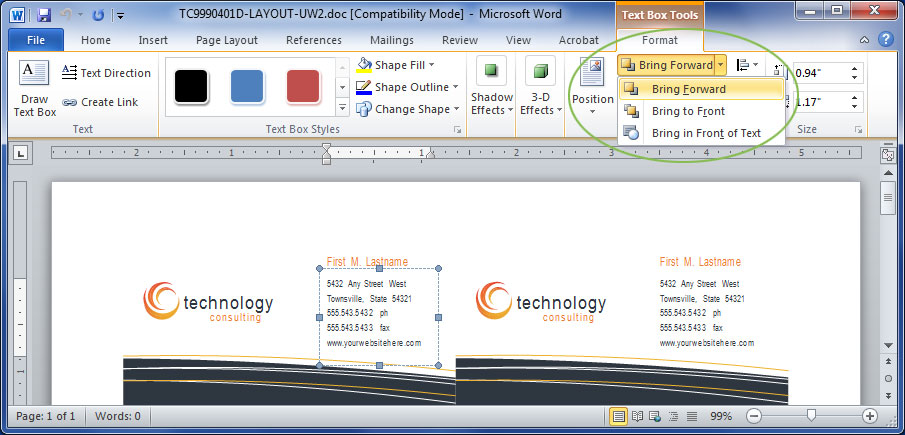
Layer text boxes on top of one another to create special effects.
- Select the text box you want to move forward or backward.
- On the Format tab, in the Arrange group, select Bring Forward, Send Backward, Bring to Front, or Send to Back.
How To Change Font, Size and Style of Text
Applying a different font to text
- Select the text you want to change.
- On the Home tab, in the Font group, select a font name in the Font box.
Changing the size of text
- Select the text you want to change.
- On the Home tab, in the Font group, type or select a point size in the Font Size box. For example, type 10.5.
Increasing or decreasing space between characters
- Select the text you want to change.
- On the Home tab, in the Font group, click the Font Dialog Box Launcher, and then click the Advanced tab.
- In the Spacing box, enter the value you want.

Changing the color of text
- Select the text you want to change.
- On the Home tab, in the Font group, click the arrow next to Font Color, and then select the color that you want.
Condensing or expanding text
- Select the text you want to change.
- On the Home tab, in the Font group, click the Font Dialog Box Launcher, and then click the Advanced tab.
- In the Scale box, enter the percentage you want.
How To Add Your Own Pictures and Logo
Replacing an existing picture in the template
- Click on the picture you want to replace in the template.
- On the Picture Tools, Format tab, click Change Picture.
- Browse to locate the picture you want to insert.
- Double-click the picture that you want to insert.
Note: You may need to resize or crop the new picture to fit the space.
Inserting a new picture from a file
- Click where you want to insert the picture in your document.
- On the Insert tab, in the Illustrations group, click Picture.
- Browse to locate the picture you want to insert. For example, you might have a picture file located in your Documents or Pictures folder on your computer.
- Double-click the picture that you want to insert.
Note: In Word, pictures are inserted at the top left corner of the page. The picture may be hidden behind another graphic. To select the picture, move graphics on top out of the way and change its wrapping style.
Changing the wrapping style of a picture
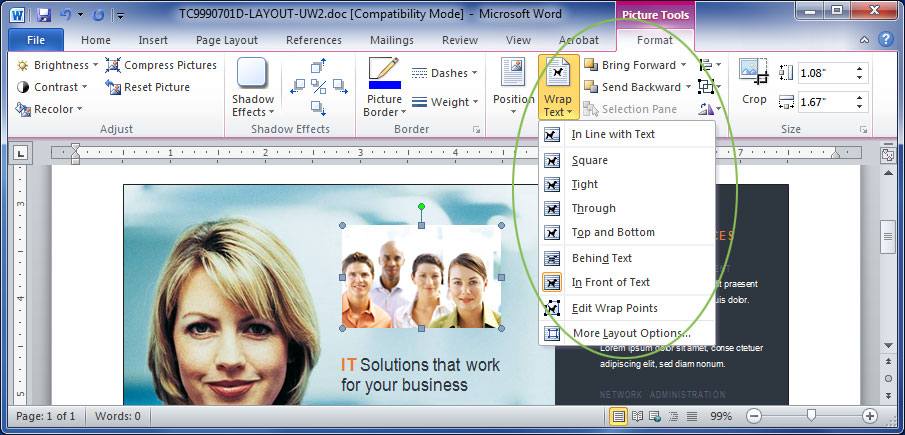
Change the wrapping style of a picture to freely place it on the page and to layer it in front or behind others.
- Select the picture you want to change.
- On the Format tab, in the Arrange group, click Wrap Text, and then select In Front of Text.
- Move the picture where you want.
Selecting graphics placed behind other graphics
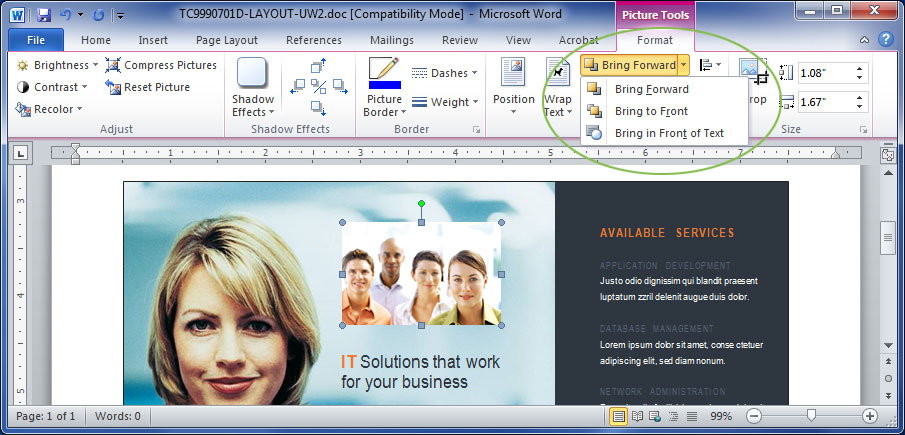
Pictures and graphics may be layered on top of one another in the document. Click the graphic on top and drag it out of the way to select the graphic behind or change the layer order of the graphic by moving it forward or backward.
Moving a graphic forward or backward
- Select the graphic you want to move forward or backward.
- On the Format tab, in the Arrange group, select Bring Forward, Send Backward, Bring to Front, or Send to Back.
Editing Pictures, Shapes and Graphics
In Microsoft Office, pictures are photos that were created from another file and inserted into the document. Shapes and clip art are graphics generated within Word or Publisher. Formatting and editing options vary depending on the type of picture or graphic you are working with.
Grouping and ungrouping objects
Text and graphics may be grouped. To edit graphics individually, first ungroup them.
To ungroup objects:
- Select the object you want to ungroup.
- On the Format tab, in the Arrange group, click the Group icon, then select Ungroup.
To group objects:
- Select the objects you want to group. Shift-click to select multiple objects.
- On the Format tab, in the Arrange group, click the Group icon, then select Group.

Resizing a picture
- Select the picture you want to resize.
- Position the mouse pointer over one of the sizing handles.
- Drag the sizing handle until the object is the shape and size you want. To maintain the object’s proportions, drag one of the corner sizing handles.
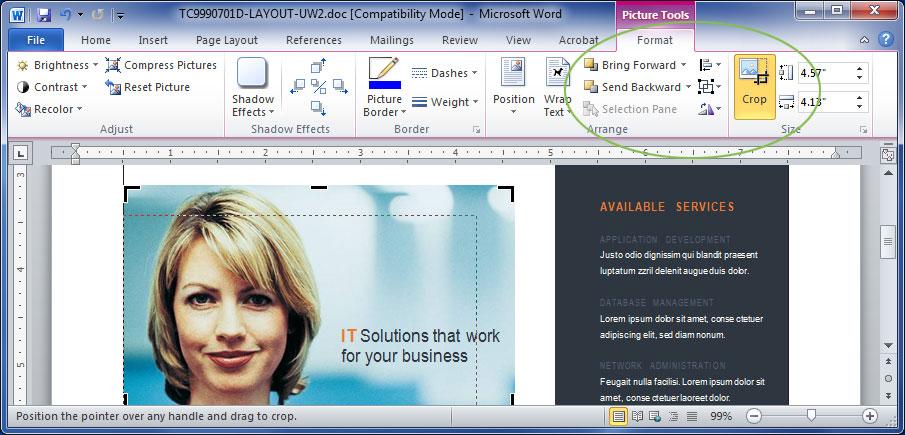
Cropping a picture
- Select the picture you want to crop.
- On the Format tab, in the Size group, click Crop.
- Position the cropping tool over a cropping handle and drag the handle inward until the object is cropped the way you want it.
Advanced formatting of a picture or graphic
Formatting options vary depending on the type of graphic you are editing.
Formatting pictures:
Pictures can be resized, cropped, and color adjusted using brightness and contrast, converting color to black and white or grayscale.
Formatting graphics:
Graphics can be resized, rotated, flipped, and colored. Add borders, patterns and other effects.
To format a picture or graphic:
- Select the picture or drawing object you want to edit.
- On the Format tab, click the editing option you would like to use.
Additional Microsoft Office Help and Resources
For help while using any Microsoft Office program, press F1.
Find help and support for Office 365, Office 2019, Office 2016, and Office 2013 at Microsoft.com.
Find hundreds of free templates for Microsoft Office applications at Office Online
